The AWS DNS firewall is just one layer of defense in protecting a cloud environment.
A breached server needs to communicate back to a command and control server. Hackers prefer to talk to an FQDN rather than an IP address. For example, if the C2C server is an EC2 instance and Amazon detects the malicious activity, they can shut down the C2C server. A FQDN keeps the C2C IP within the hacker’s control. A DNS firewall will block the C2C communication.
When the server queries DNS, it will ask .2, which is Route 53 behind the scenes. The DNS firewall adds a layer of security at this point. Route 53 compares every DNS query against its database and blocks the query. Communication is blocked before the typical connection is made to the internet.

The steps to set up the DNS Firewall
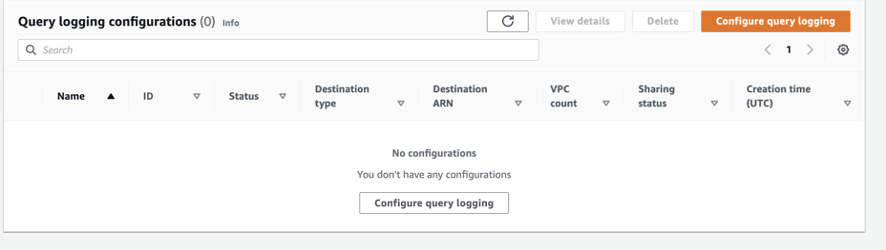
Step 1: Enable DNS query logging and Goto Route 53 Service & click Resolver > Query logging.
Step 1.1: Click Configure query logging
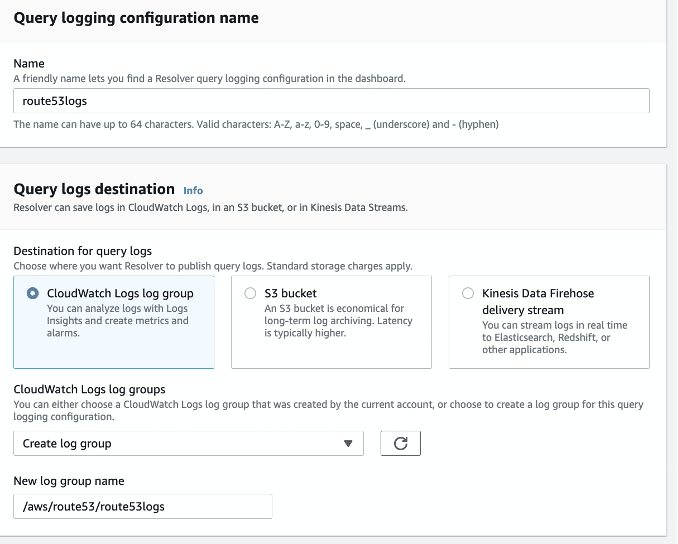
Step 1.2: Provide a name, select Cloudwatch Logs log group, and create a log group.
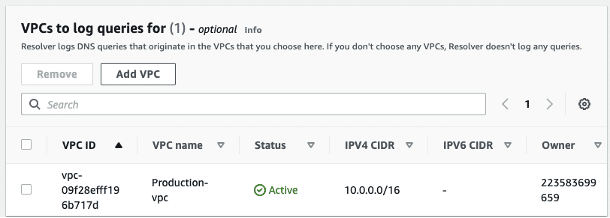
Step 1.3: Add the VPC that will have the DNS firewall.
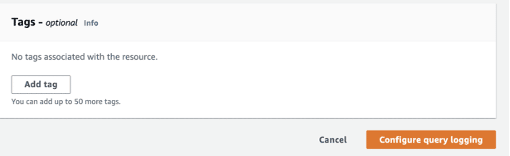
Step 1.4: Add any tags and click Configure query logging.
Step 2: Now, we’ll add the block lists. Click DNS Firewall > Domain lists.
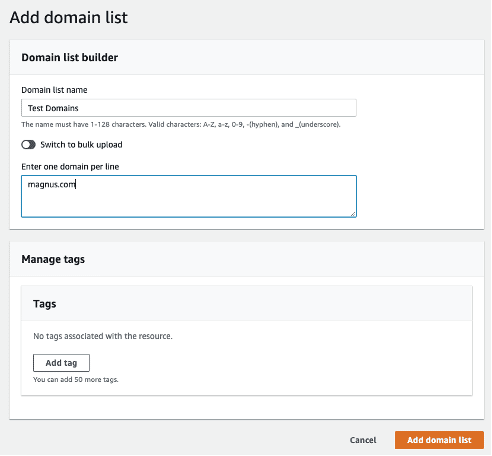
Step 2.1: Under Domain Lists, click Add domain list.
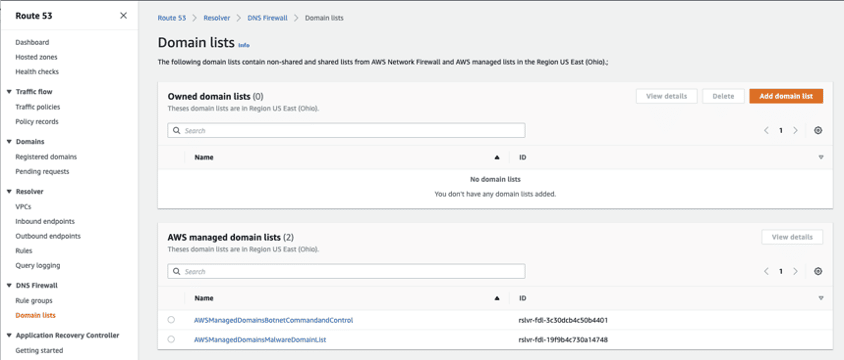
NOTE: AWS has two existing malicious links that you can use, but there is no way of testing these lists.
AWS doesn’t provide a means to test its filters, so you need to create your own.
Step 2.2: Create a list with your name. In the screenshot below, the name is “Test
Domains” and Click Add Domain List
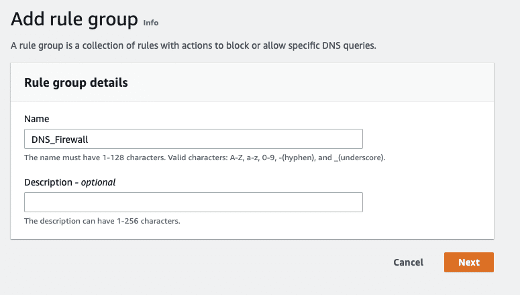
Step 2.3: Open DNS Firewall > Rule Groups, then click Add rule group.
Step 2.4: You’ll add two predefined rules and one custom rule to the above rule group
by clicking Add rule and selecting AWS managed domain list.
- Rule 1: aws_malware_list. Select the AWSManagedDomainsMalwareDomainList.
- Rule 2: aws_botnet_list and select the AWSManagedDomainsBotnetCommandandControl domain list.
- Rule 3: Test Domains, naming after custom list.
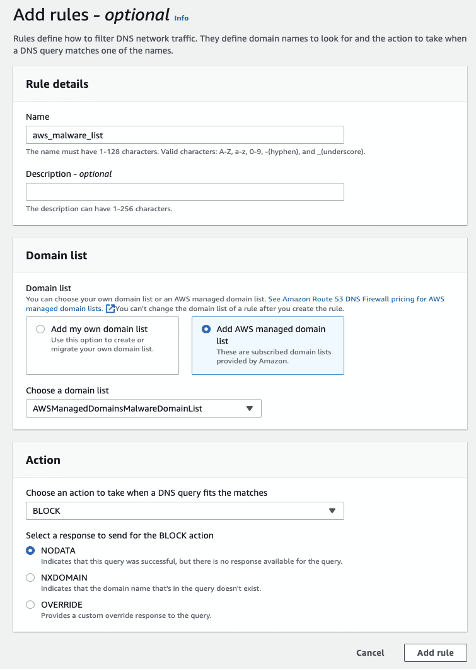
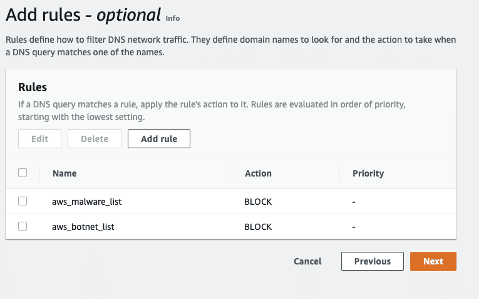
Note: In this example, the selected action was to Block.
You can also select Alert which will allow the malicious traffic to query, but you will
receive an alert.
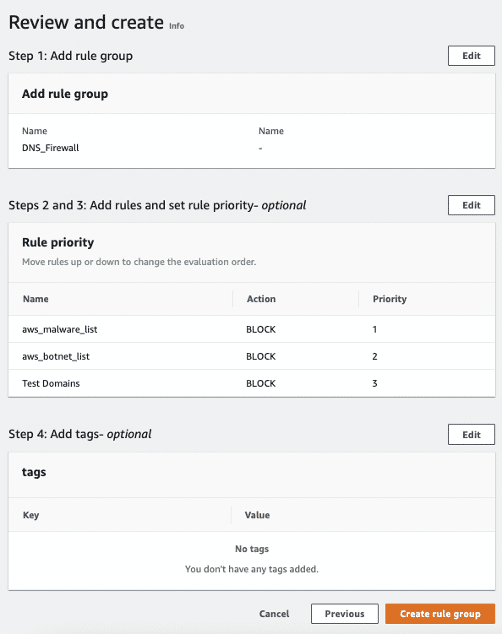
Step 2.5: Click Create rule group after creating the rules
Step 3: Now we need to associate a VPC to our DNS Firewall configuration.
Step 3.1: Click the name of the rule group to open the configuration screen for this
rule group.

Step 3.2: Click the VPC associated tab.
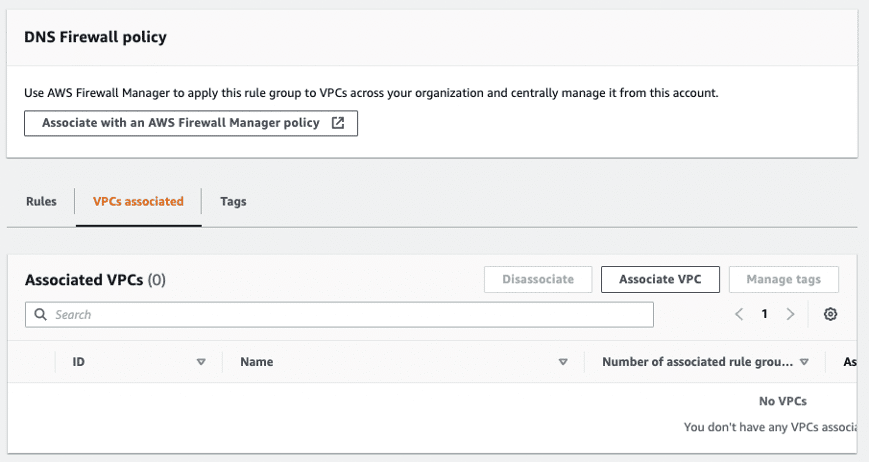
Step 3.3: Click the VPC associated tab.
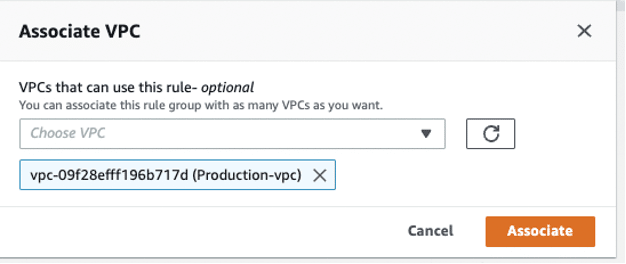
Finally, you are monitoring your VPC’s DNS queries.
NOTE: Make sure to create alerts based on the cloudwatch logs.
At Ironclad, we forward our logs to Datadog and manage our alerts on slack
We’re hiring!
If this sounds exciting to you and you’d like to help the Security Engineering team deliver an even better experience with automation and security, please see our current openings.
Ironclad is not a law firm, and this post does not constitute or contain legal advice. To evaluate the accuracy, sufficiency, or reliability of the ideas and guidance reflected here, or the applicability of these materials to your business, you should consult with a licensed attorney. Use of and access to any of the resources contained within Ironclad’s site do not create an attorney-client relationship between the user and Ironclad.
Want more content like this? Sign up for our monthly newsletter.